Lend and Borrow Campaign
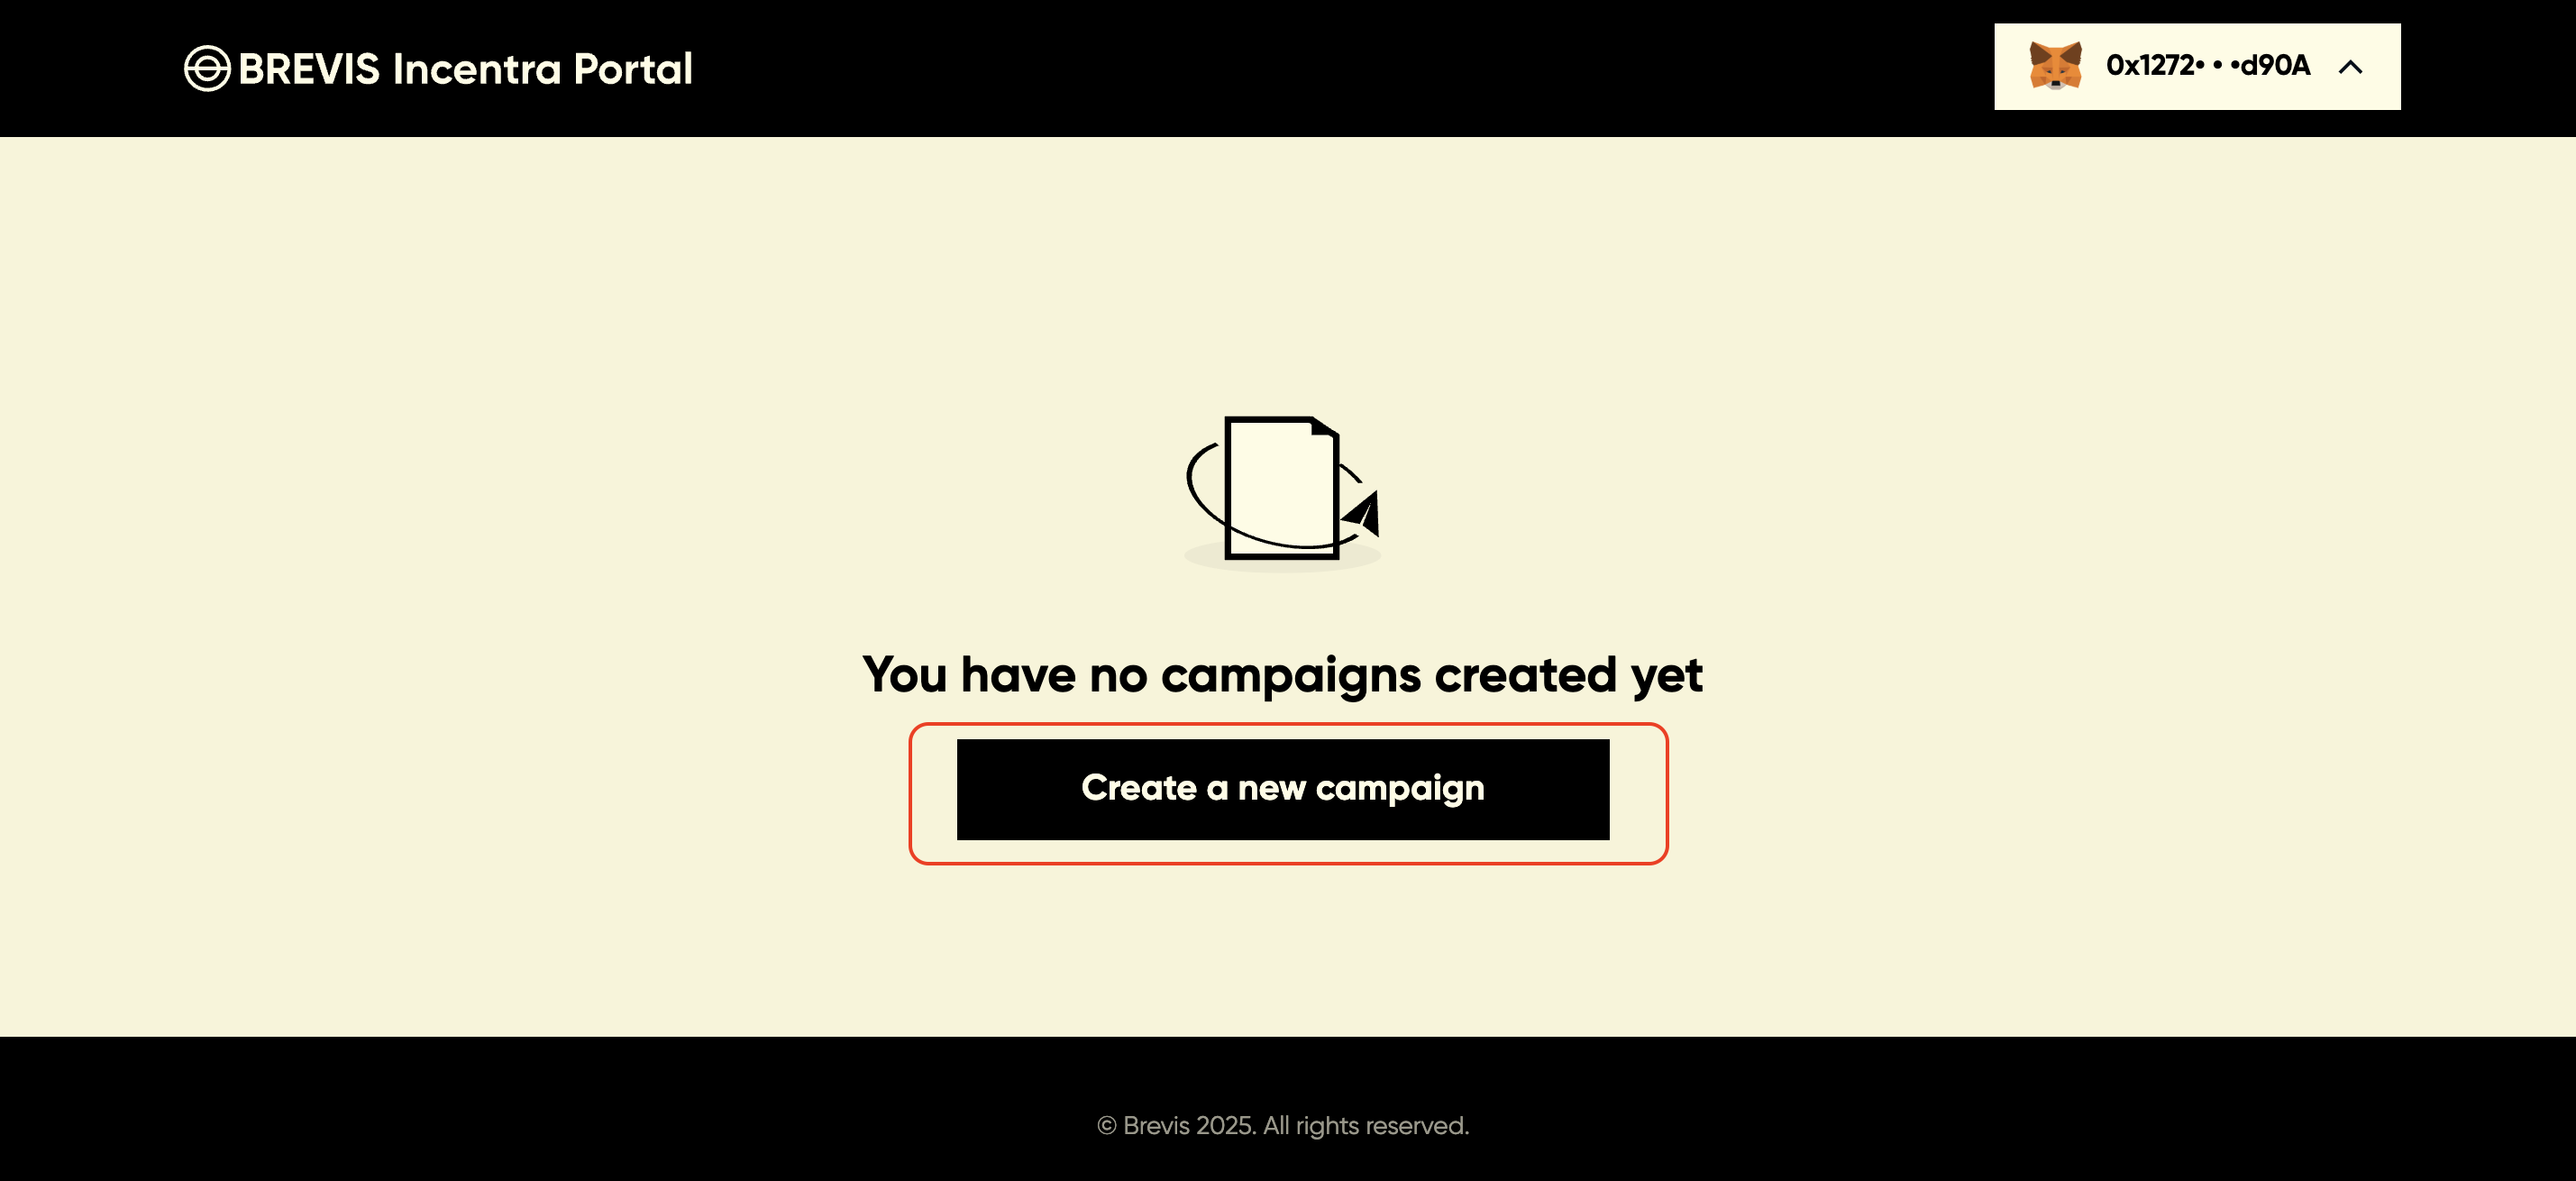
Click “Create a new campaign” to create a campaign, and select the Campaign Type you would like to create.
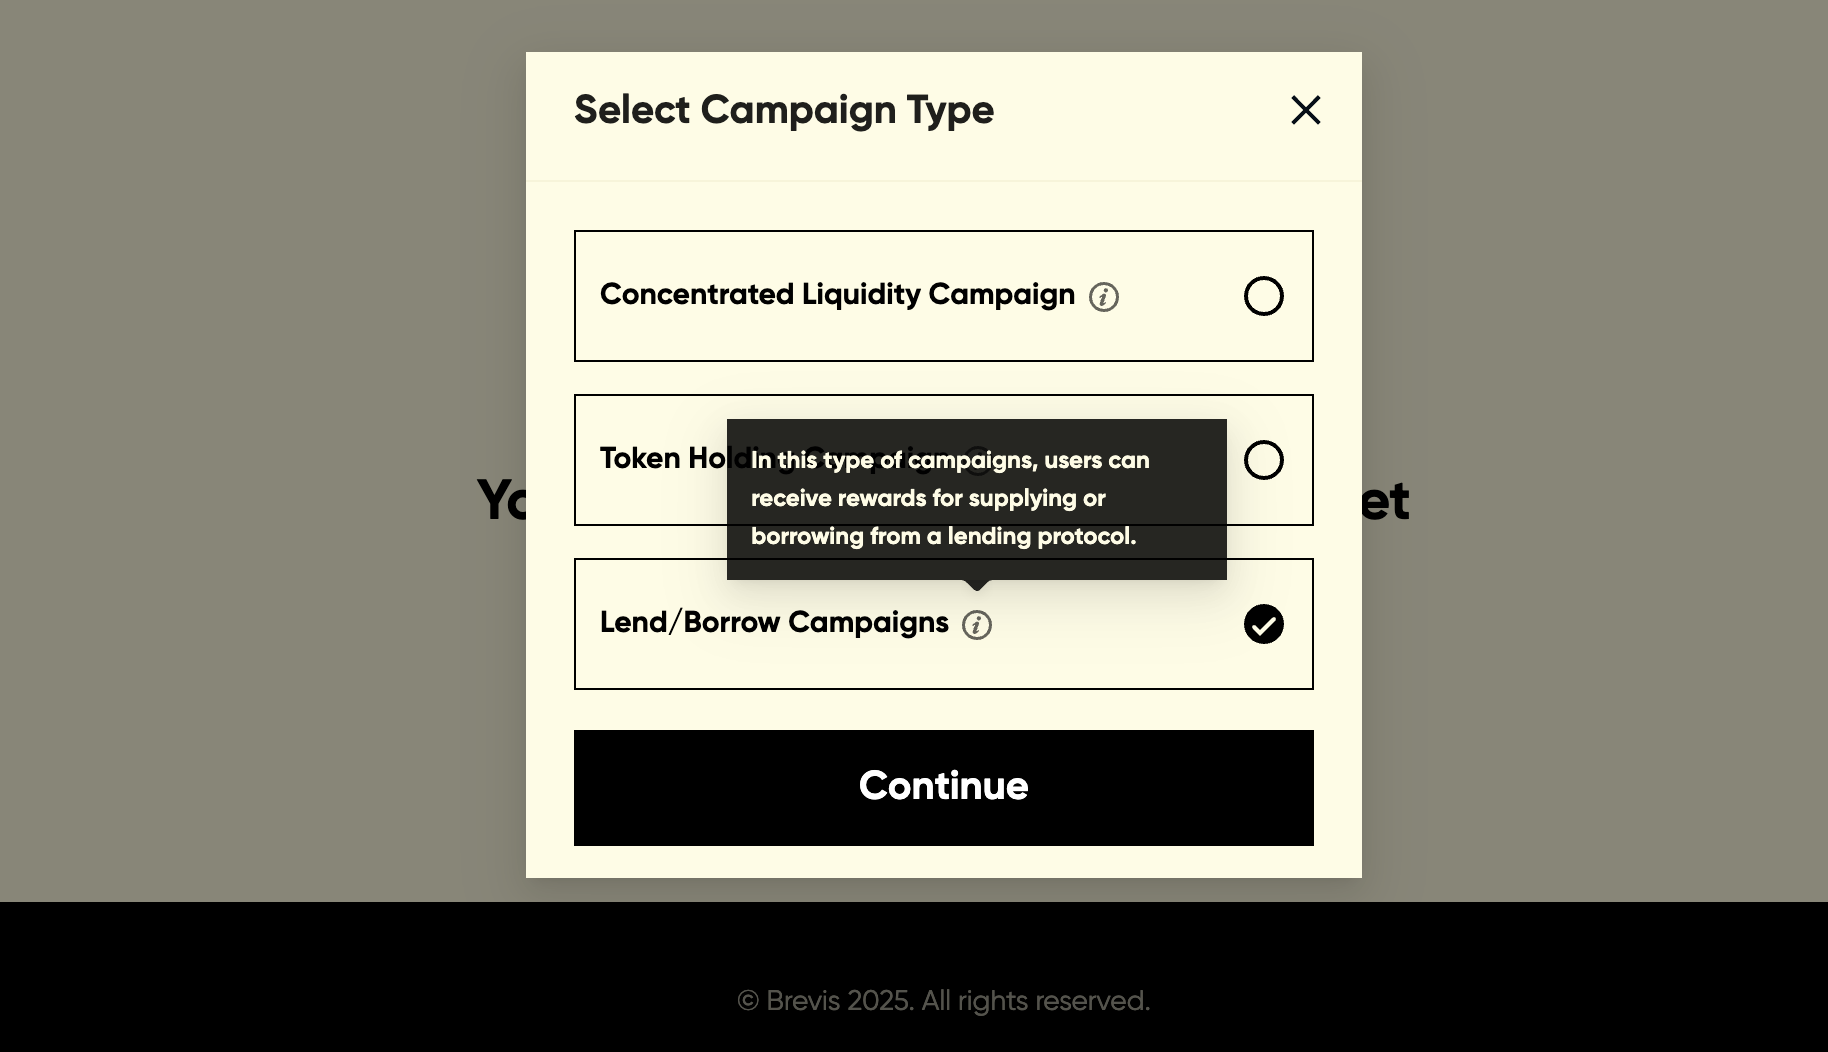
Select the lending protocol (Euler/Aave/Morpho) to be incentivized.
.png)
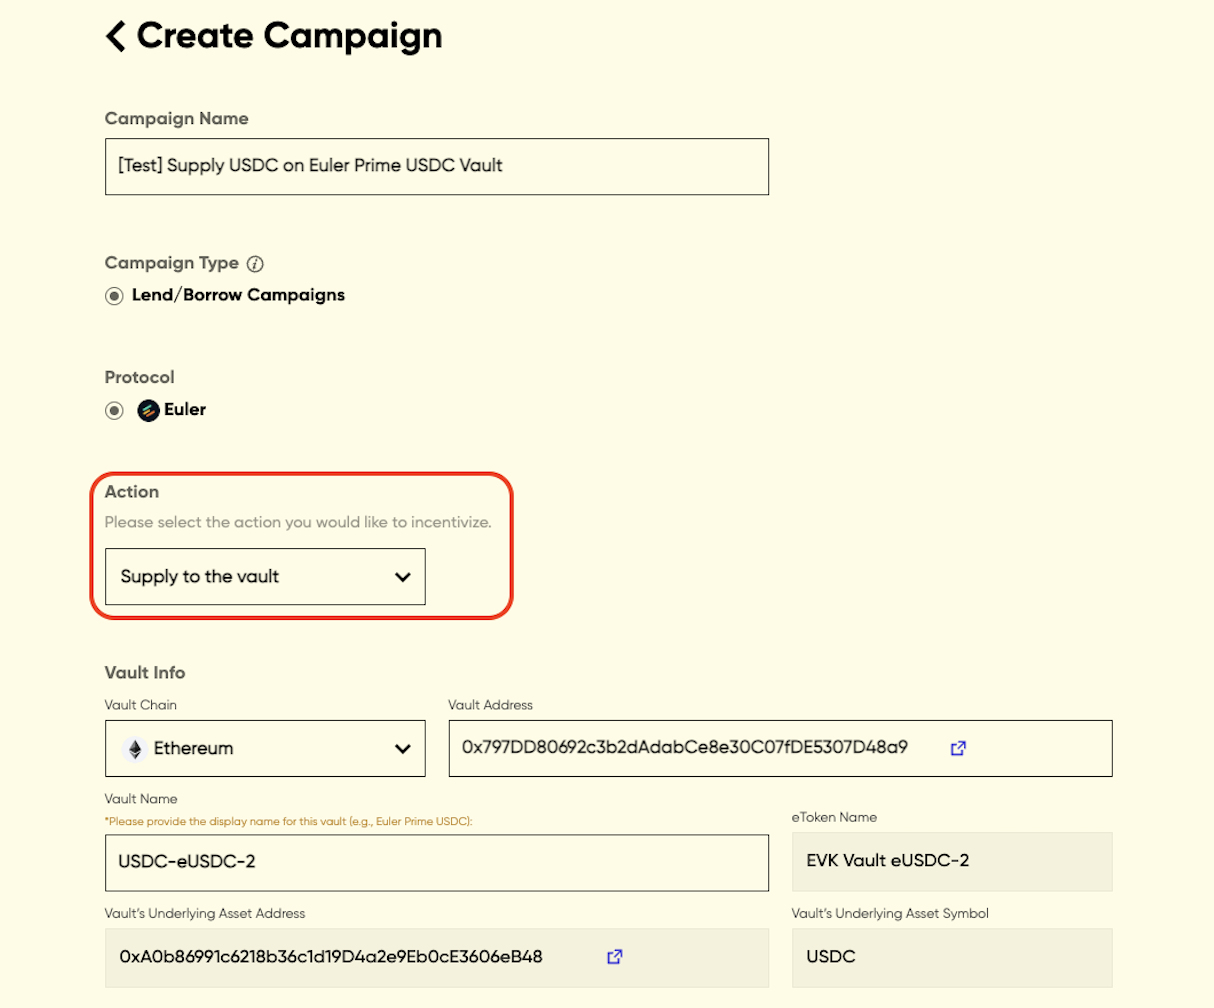
To create a Euler campaign, you need to configure the following info:
- Campaign Name
- Action: the action you would like to incentivize - supply to a vault or borrow from a vault
- Vault Info: select the chain where the vault is deployed and enter the vault address. The vault information should be displayed automatically. You may also enter the vault name if this is the first time setting up a campaign for this vault.
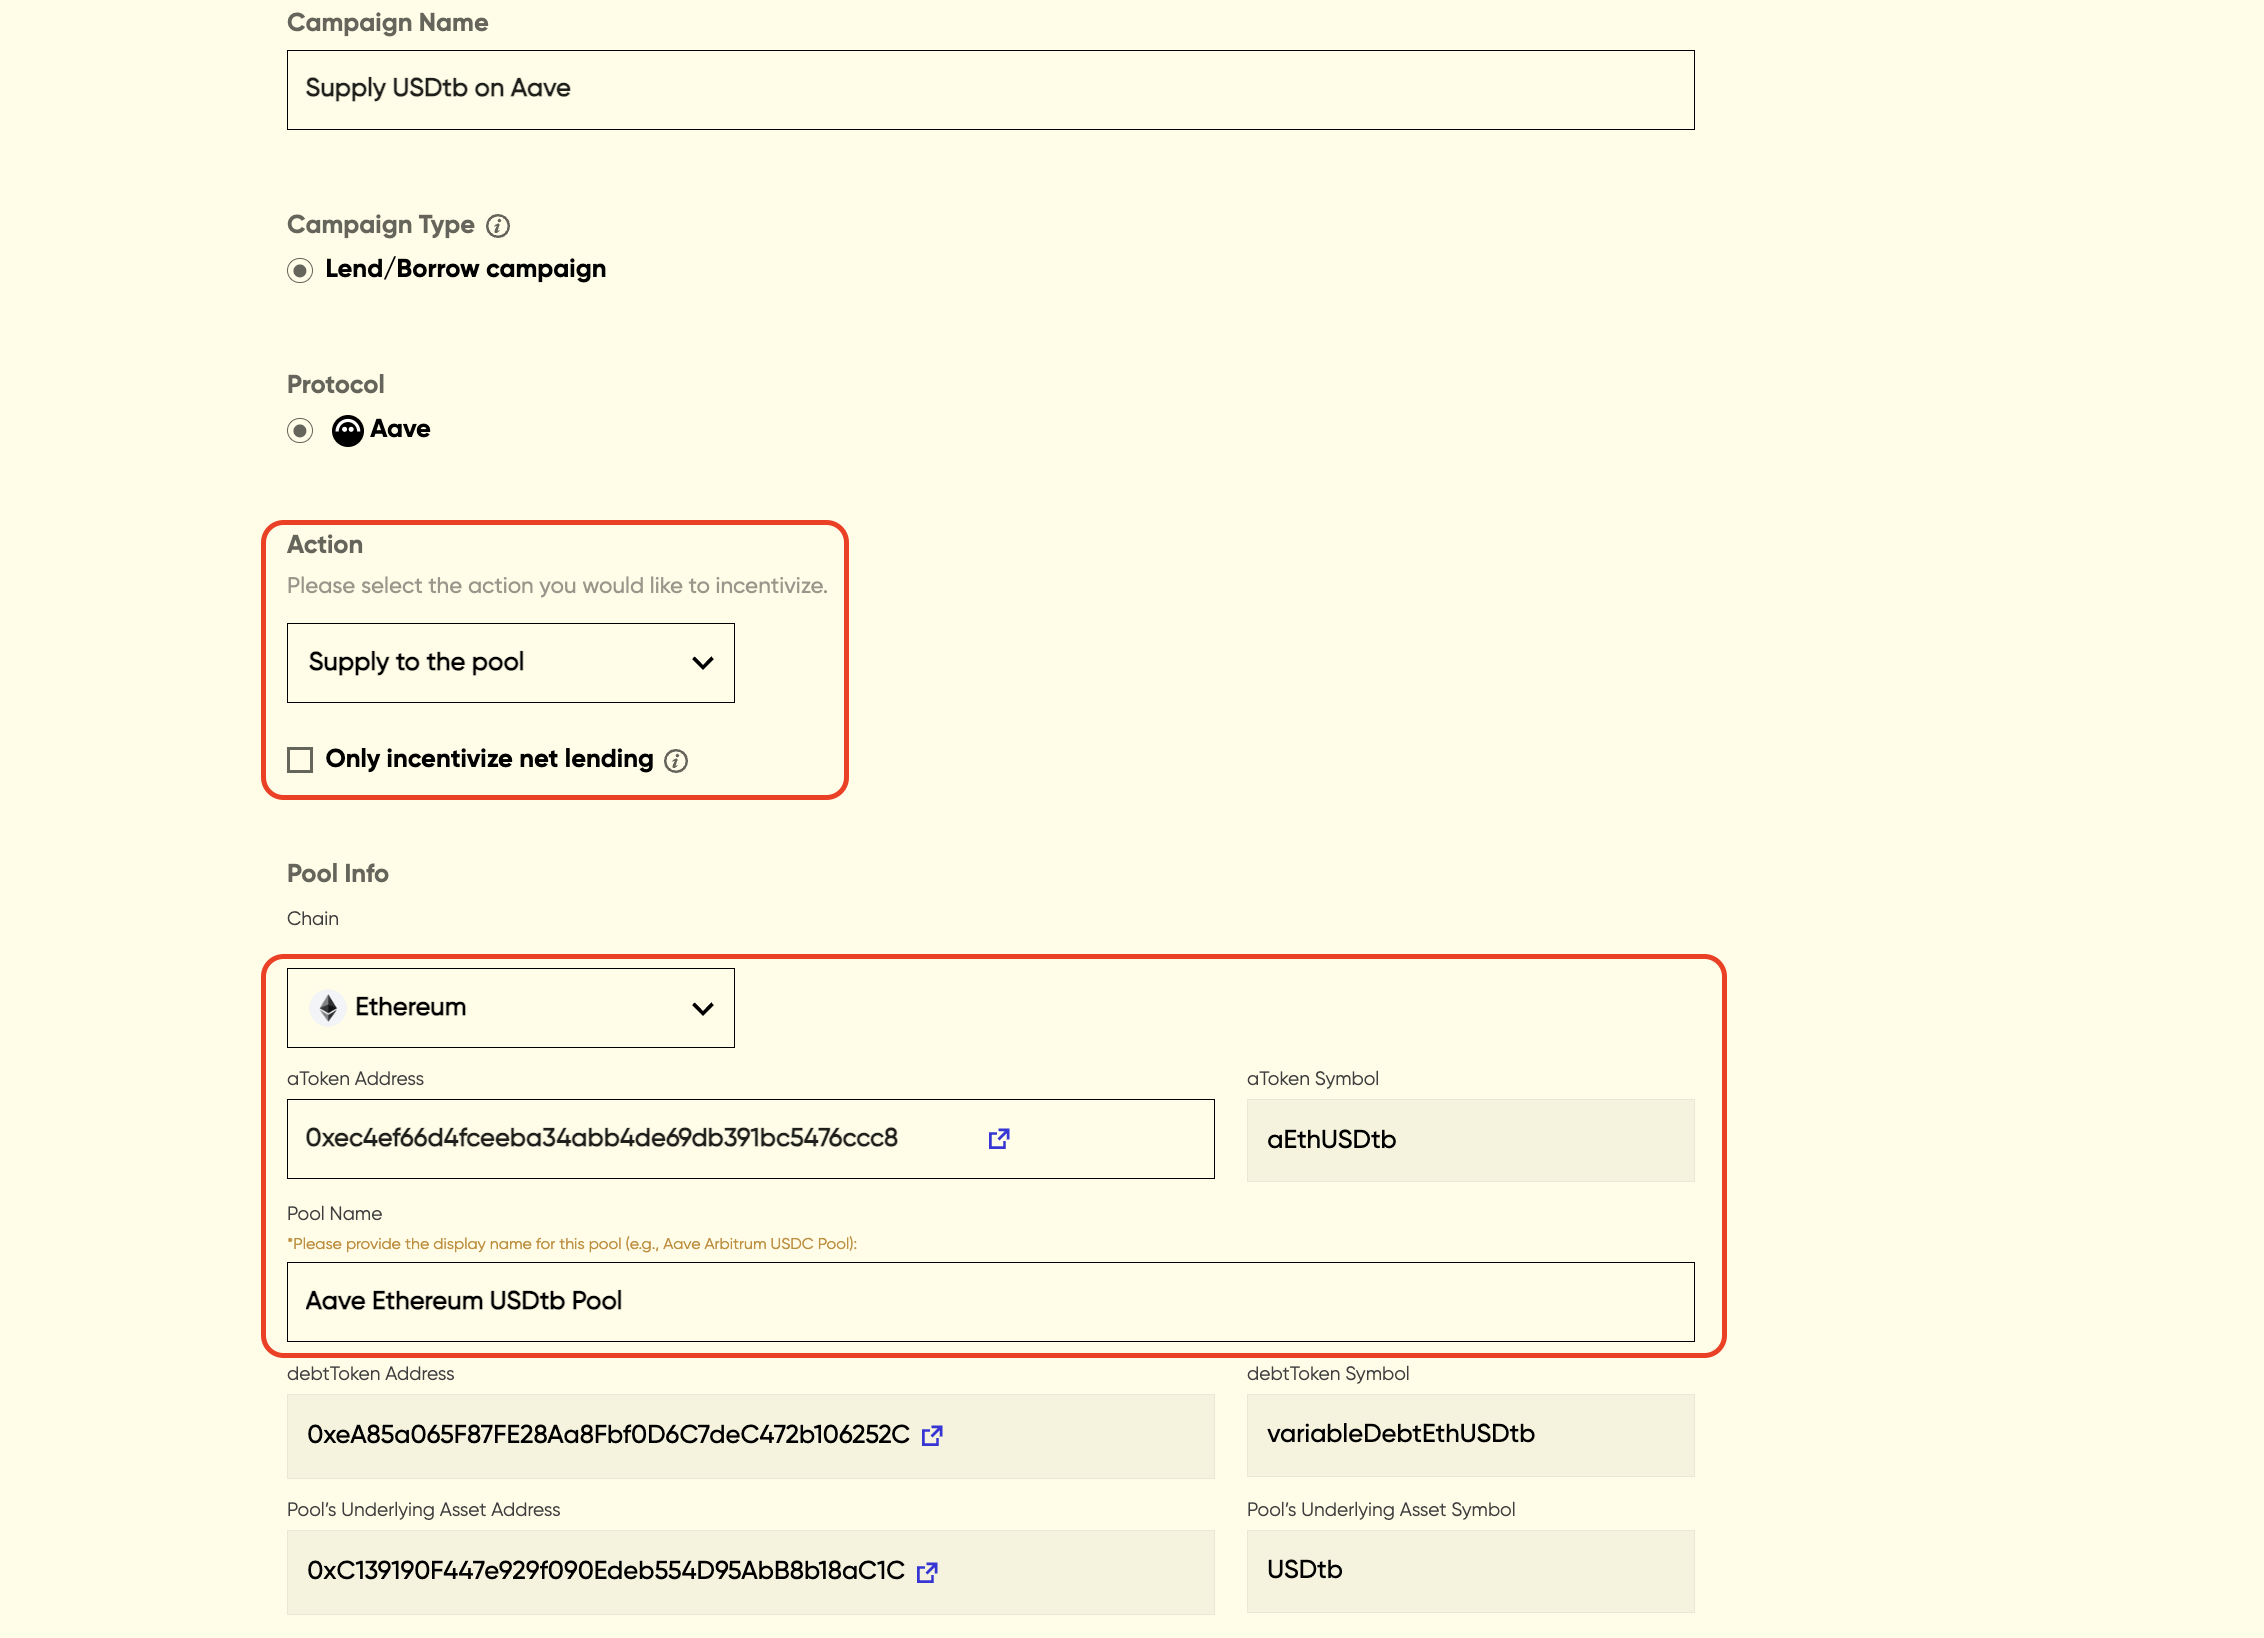
To create an Aave campaign, you need to configure the following info:
- Campaign Name
- Action: the action you would like to incentivize - supply to a pool or borrow from a pool.
- For a lending campaign, you can optionally choose to incentivize net lending, where users will only receive rewards based on their net position values in the pool. View here for detailed rules about net lending.
- Pool Info: select the chain where the pool is deployed and enter the aToken address. The pool information should be displayed automatically. You should also enter the pool name if this is the first time setting up a campaign for this pool.
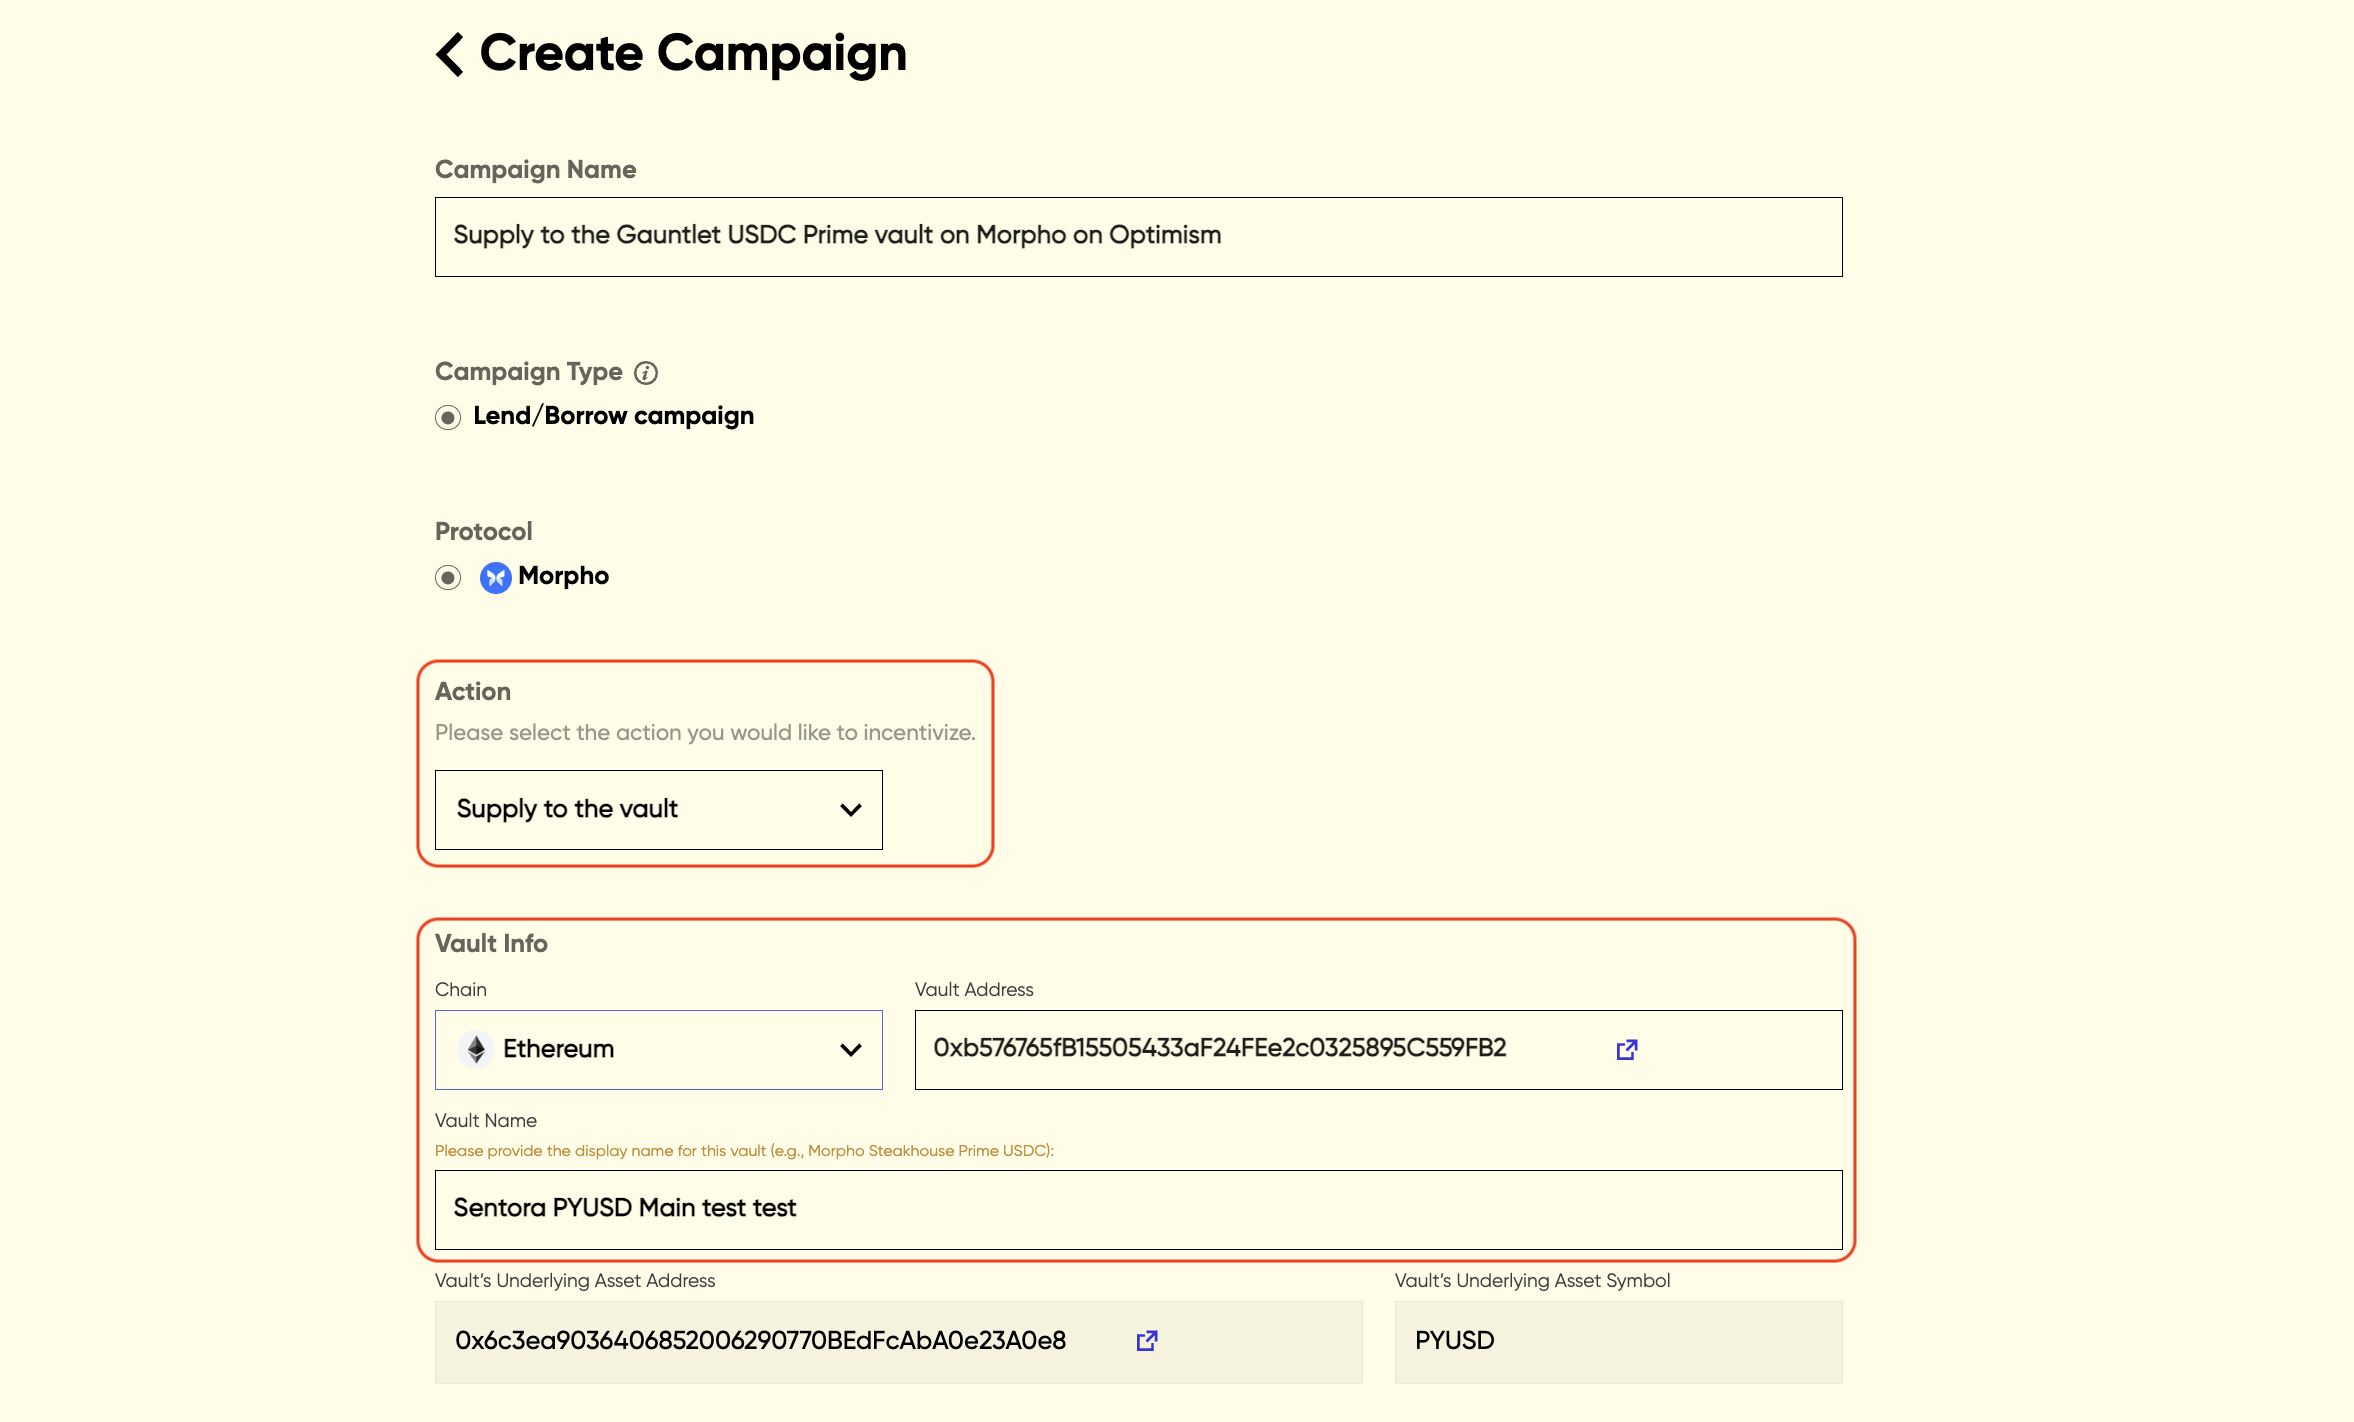
To create a Morpho campaign, you need to configure the following info:
- Campaign Name
- Action: the action you would like to incentivize - supply to a vault. Only lend campaigns are currently supported for Morpho.
- Vault Info: select the chain where the vault is deployed and enter the vault address. The vault information should be displayed automatically. You should also enter the vault name if this is the first time setting up a campaign for this vault.
Note: Only Morpho v2 vault is supported at this moment.
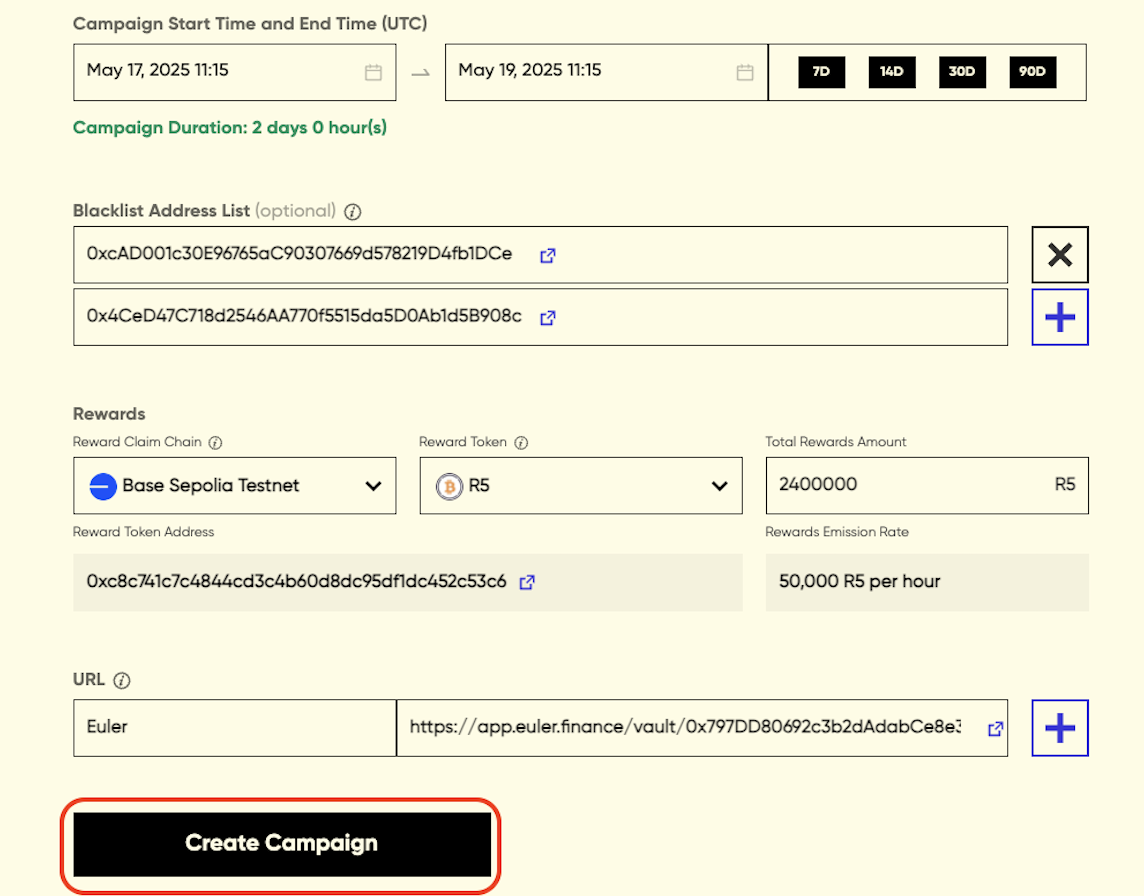
The following parameters may also need to be configured for Euler, Aave, and Morpho campaigns:
- Campaign Start Time and End Time: select the start time and end time, you could also select to set a 7-day/14-day/30-day/90-day campaign and the campaign end time will be displayed automatically
- Blacklist Address List: it is optional to exclude specific addresses from receiving rewards
- Select Reward Token: select the token you would like to use as a reward token and enter the total rewards amount. Only a selected list of reward tokens is supported. Please contact us if you’d like to whitelist a token that isn’t currently available
- URL: enter the URL of the dApp where users could supply or borrow
Once all the required information is provided, you can click the ‘Create Campaign’ button to confirm the campaign settings.
Please review and confirm your campaign settings before launching the campaign as the configs cannot be changed after creation.

Once the campaign settings are submitted, the campaign will be created.
.png)
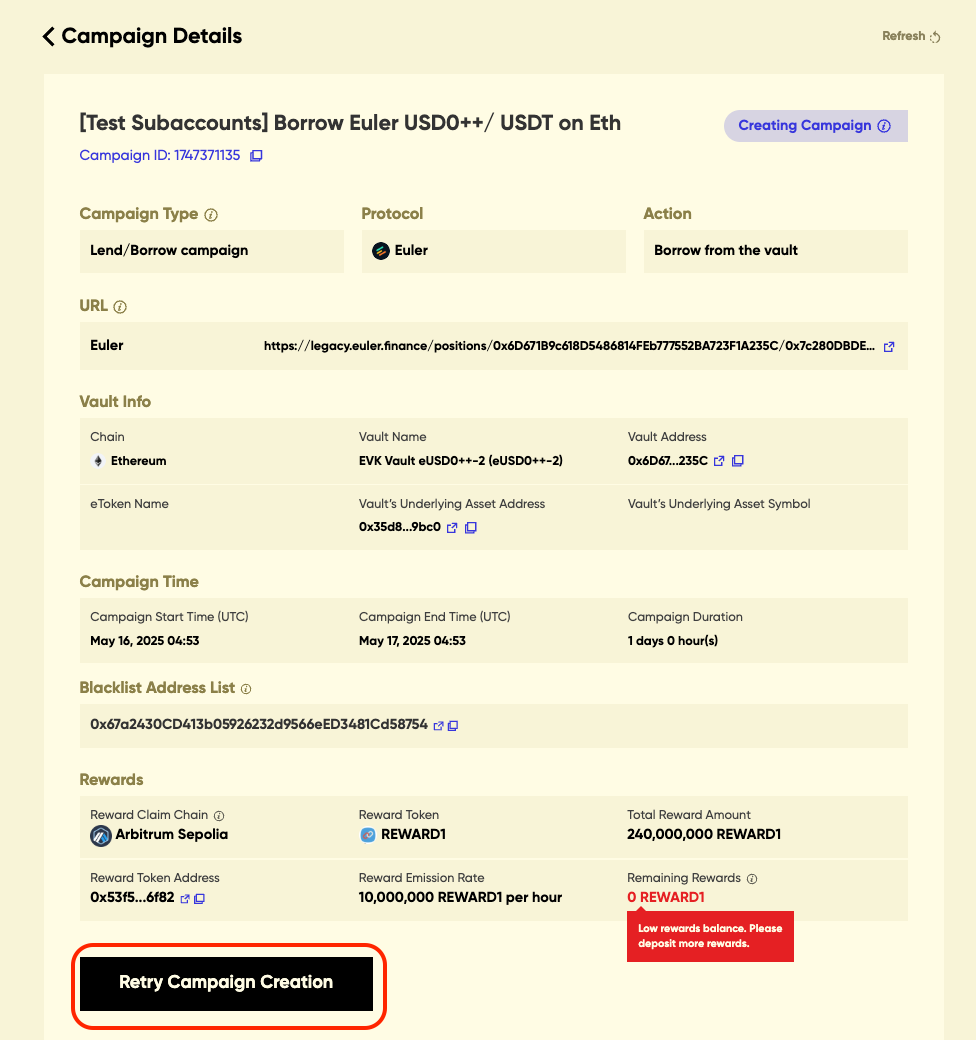
You would see a pop-up with a campaign ID and view the campaign creation tx hash in explorer, confirming that your campaign has been successfully created.

You may also see the campaign creation is failed or campaign is creating, and could retry the campaign creation in the campaign page.
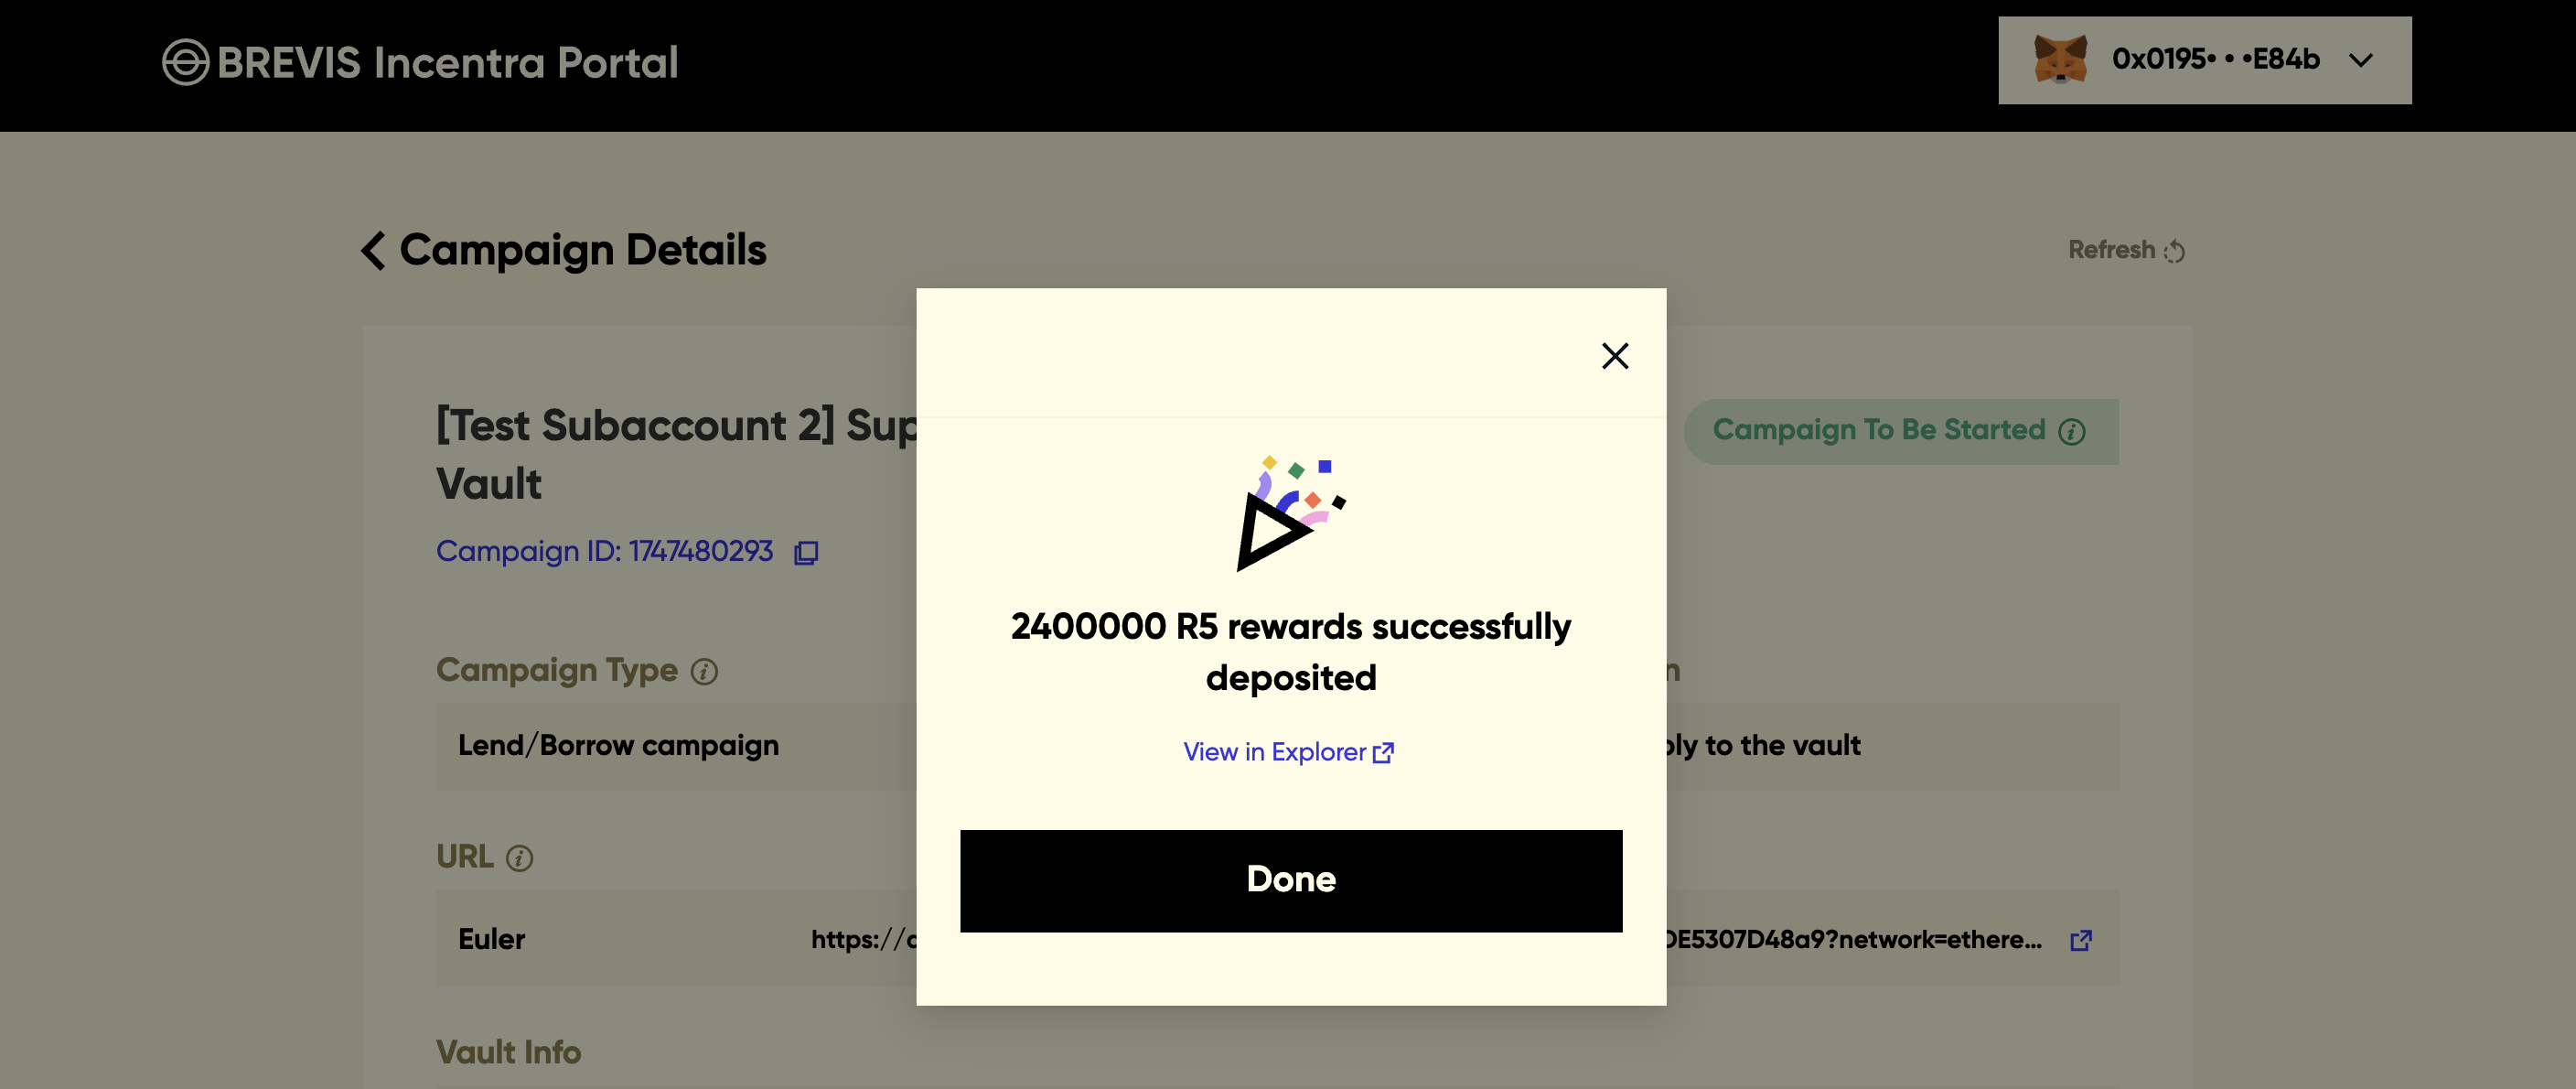
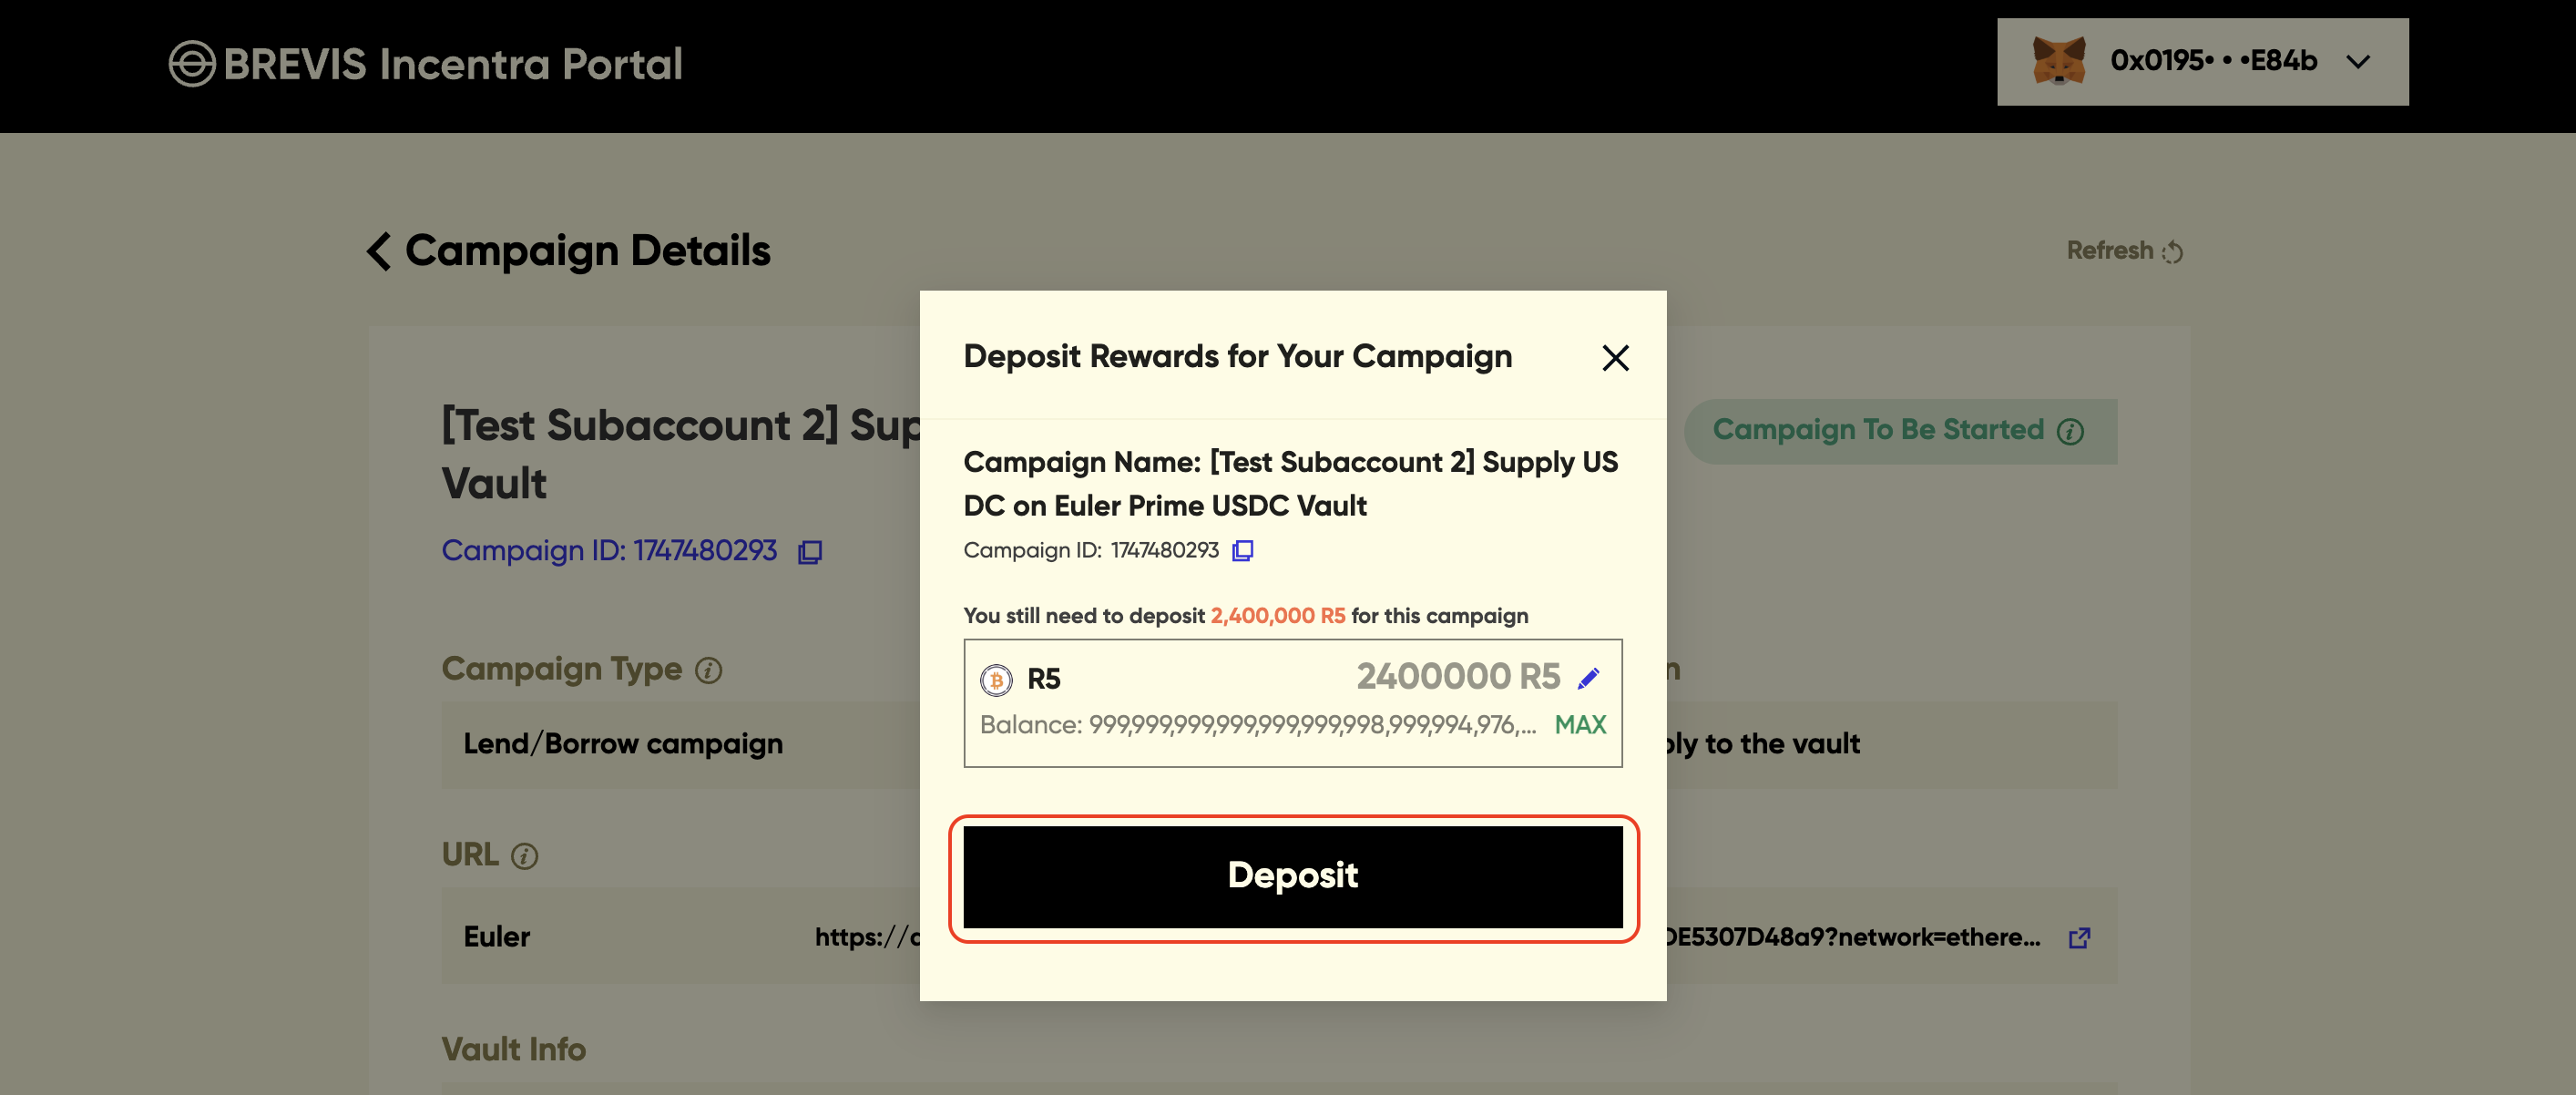
Once the campaign is created, please deposit the rewards into the reward contract to enable reward distribution. You may deposit rewards while the campaign is to be started, active, or even ended. By default, the total rewards amount should be deposited.
Note: To deposit rewards, you may also directly transfer reward tokens to the campaign contract via a simple ERC-20 transfer from a different address (e.g., a multi-sig) later.
Once the reward tokens are deposited, congratulations — you’re all set!